


React Events >
React events are a crucial part of building interactive UI in React.js. They allow you to respond to user actions such as clicks, keypresses, form submissions, and more.
The key aspects of React events are:
1. Event Handling Syntax:
In React, event handlers are typically written in camelCase, such as onClick or onChange, as opposed to lowercase in traditional HTML.
jsxCopy code<button onClick={handleClick}>Click me</button>
2. Event Object:
React wraps the native DOM events into a synthetic event object, providing a consistent interface for handling events across different browsers. This synthetic event is passed as the first argument to your event handler function.
jsxCopy codefunction handleClick(event) {
  // Access event properties
  console.log(event.target);
}
3. Binding Event Handlers:
In class components, you might need to explicitly bind event handler methods in the constructor to the class instance. However, with modern JavaScript and the use of arrow functions or class properties, this is often unnecessary in functional components.
Binding in the constructor:
jsxCopy codeclass MyComponent extends React.Component {
  constructor(props) {
    super(props);
    this.handleClick = this.handleClick.bind(this);
  }

  handleClick() {
    // ...
  }

  render() {
    return <button onClick={this.handleClick}>Click me</button>;
  }
}
Using arrow functions or class properties:
jsxCopy codeclass MyComponent extends React.Component {
  handleClick = () => {
    // ...
  };

  render() {
    return <button onClick={this.handleClick}>Click me</button>;
  }
}
4. Preventing Default Behavior:
To prevent the default behavior of an event (e.g., preventing a form submission or a link from navigating), you can call event.preventDefault().
jsxCopy codefunction handleSubmit(event) {
  event.preventDefault();
  // Handle form submission
}
5. SyntheticEvent Pooling:
React uses event pooling to improve performance. This means that the SyntheticEvent object is reused and its properties are nullified after the event handler has been called. If you need to access event properties asynchronously, you should call event.persist().
jsxCopy codefunction handleClick(event) {
  event.persist();
  setTimeout(() => {
    console.log(event.target);
  }, 1000);
}
6. Event Types:
React supports a variety of event types, including:
Mouse events (e.g., onClick, onMouseOver)
Form events (e.g., onChange, onSubmit)
Keyboard events (e.g., onKeyDown, onKeyUp)
Focus events (e.g., onFocus, onBlur)
These are just some basics. The specific events available depend on the elements you are interacting with.
In functional components, you can use the useEffect hook to attach and detach event handlers. The dependencies array in useEffect helps manage the lifecycle of the event handlers.
jsxCopy codeuseEffect(() => {
  const handleResize = () => {
    // Handle window resize
  };

  window.addEventListener('resize', handleResize);

  return () => {
    window.removeEventListener('resize', handleResize);
  };
}, []); // Empty dependency array means the effect runs once on mount and cleans up on unmount
React Conditional Rendering >
if Statement:
function MissedGoal() {
  return <h1>MISSED!</h1>;
}

function MadeGoal() {
  return <h1>Goal!</h1>;
}
Example:
Now, we'll create another component that chooses which component to render based on a condition:
function Goal(props) {
  const isGoal = props.isGoal;
  if (isGoal) {
    return <MadeGoal/>;
  }
  return <MissedGoal/>;
}

const root = ReactDOM.createRoot(document.getElementById('root'));
root.render(<Goal isGoal={false} />);
Example:
const root = ReactDOM.createRoot(document.getElementById('root'));
root.render(<Goal isGoal={true} />);
Logical && Operator:
Another way to conditionally render a React component is by using the && operator.
Example:
We can embed JavaScript expressions in JSX by using curly braces:
function Garage(props) {
  const cars = props.cars;
  return (
    <>
      <h1>Garage</h1>
      {cars.length > 0 &&
        <h2>
          You have {cars.length} cars in your garage.
        </h2>
      }
    </>
  );
}

const cars = ['Ford', 'BMW', 'Audi'];
const root = ReactDOM.createRoot(document.getElementById('root'));
root.render(<Garage cars={cars} />);
Example:
const cars = [];
const root = ReactDOM.createRoot(document.getElementById('root'));
root.render(<Garage cars={cars} />);
Ternary Operator:
Another way to conditionally render elements is by using a ternary operator.
condition ? true : false
Example:
Return the MadeGoal component if isGoal is true, otherwise return the MissedGoal component:
function Goal(props) {
  const isGoal = props.isGoal;
  return (
    <>
      { isGoal ? <MadeGoal/> : <MissedGoal/> }
    </>
  );
}

const root = ReactDOM.createRoot(document.getElementById('root'));
root.render(<Goal isGoal={false} />);
React Lists >
map() :
The map() method in React is a JavaScript function that is used to iterate over an array and return a new array with the results of calling a provided function on every element in the original array. The map() method takes a function as an argument, which is called for each element in the array. The function can be used to transform the element or to return a new element.
The map() method is often used to render lists of data in React.
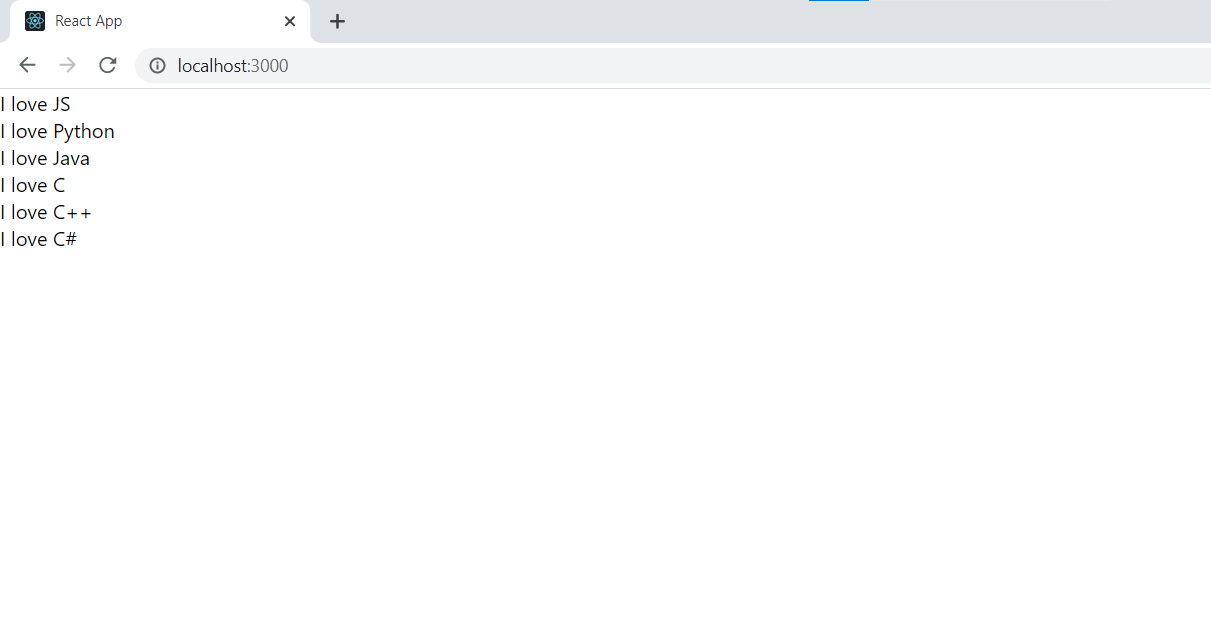
An example of map:
function App() {
  const languages = ['JS', 'Python', 'Java', 'C', 'C++', 'C#'];

  return (
    <div className="App">
      {languages.map((language) => {
        return <div>I love {language}</div>
      })}
    </div>
  );
}
Output:
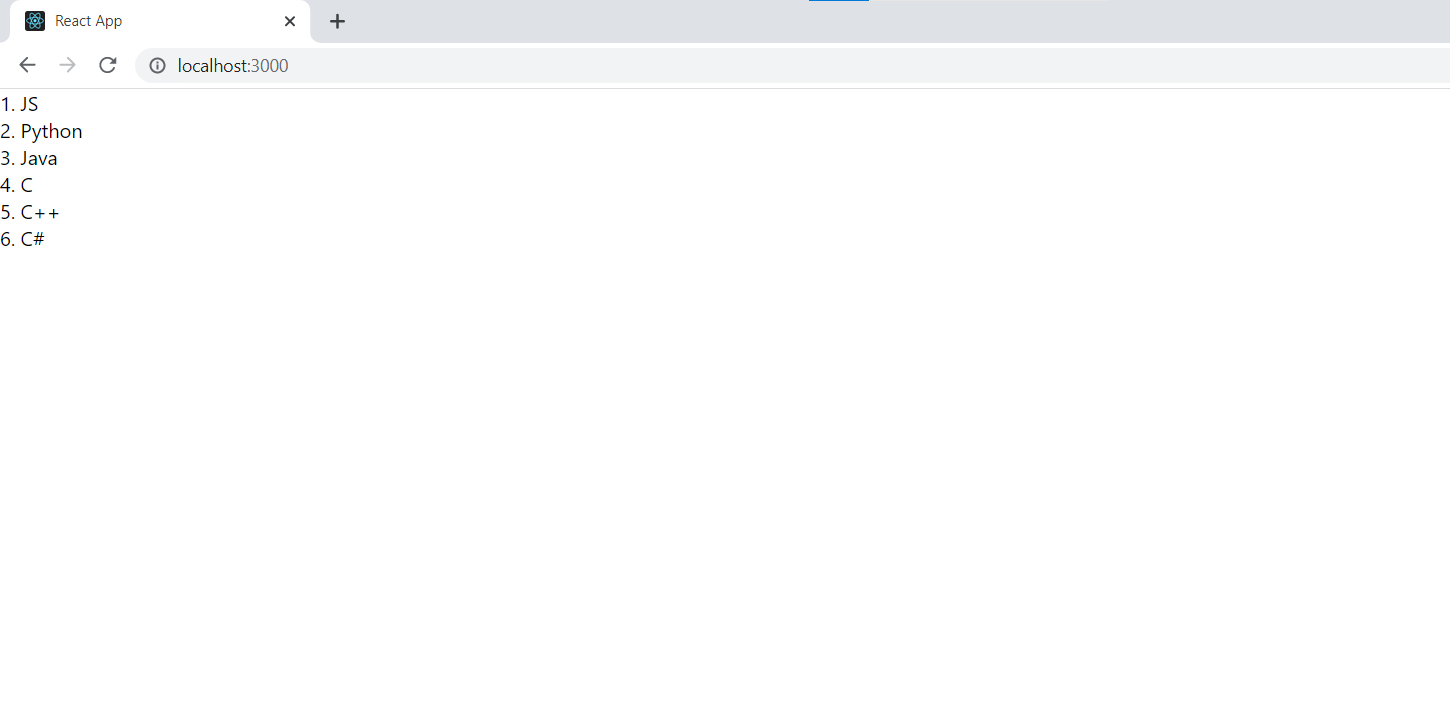
Keys:
React keep record of the elements with the help of keys. This ensures that if an item is updated or removed, only that item will be re-rendered instead of the entire list. Example:
function App() {

  const languagesDict = [
    { id: 1, language: 'JS' },
    { id: 2, language: 'Python' },
    { id: 3, language: 'Java' },
    { id: 4, language: 'C' },
    { id: 5, language: 'C++' },
    { id: 6, language: 'C#' }
  ];

  return (
    <div className="App">
      {languagesDict.map((language) => {
        return <div key={language.id}>
          {language.id}. {language.language}
        </div>
      })}
    </div>
  );
}
React Forms >
React Forms are mostly like normal HTML forms, except we use state in this to handle inputs.
Handling Forms:
In React all the data is handled by component and stored in component state. We can change state with event handlers in the onChange attribute, like this:
import { useState } from 'react';

function Form() {
  const [email, setEmail] = useState('');

  return (
    <form>
      <label>
        Enter your email: <input type="email" value={email} onChange={(e) => setEmail(e.target.value)} />
      </label>
    </form>
  )
}

export default Form;
Submitting Form:
We can submit form with onSubmit attribute for the <form>
import { useState } from 'react';

function Form() {
  const [email, setEmail] = useState('');

  const handleSubmit = (e) => {
    e.preventDefault();
    alert(`Your email is: ${email}`)
  }

  return (
    <form onSubmit={handleSubmit}>
      <label>
        Enter your email: <input type="email" value={email} onChange={(e) => setEmail(e.target.value)} />
      </label>
      <input type="submit" />
    </form>
  )
}

export default Form;
Multiple Inputs:
We don't have to make multiple states for multiple inputs, we can save all values in one, like this:
import { useState } from 'react';

function Form() {
  const [data, setData] = useState({});

  const handleChange = (e)=>{
    setData({...data, [e.target.name]: e.target.value})
  }

  const handleSubmit = (e) => {
    e.preventDefault();
    alert(`Your email is: ${data.email} and your name is: ${data.name}`)
  }

  return (
    <form onSubmit={handleSubmit}>
      <label>
        Enter your email: <input type="email" name='email' value={data.email} onChange={handleChange} />
      </label>
      <label>
        Enter your name: <input type="text" name='name' value={data.name} onChange={handleChange} />
      </label>
      <input type="submit" />
    </form>
  )
}

export default Form;
Here in handleChange we used Spread Operators. We are basically saying keep whole data as it was, just change this name's value. Then it is saved as an object so we are getting that by data.email and data.name.
Textarea:
The textarea element in React is slightly different from ordinary HTML.
In HTML the value of a textarea was the text between the start tag <textarea> and the end tag </textarea>.
<textarea>
  Content of the textarea.
</textarea>
In React the value of a textarea is placed in a value attribute. We'll use the useState Hook to manage the value of the textarea:
Example:
A simple textarea with some content:
import { useState } from 'react';
import ReactDOM from 'react-dom/client';

function MyForm() {
  const [textarea, setTextarea] = useState(
    "The content of a textarea goes in the value attribute"
  );

  const handleChange = (event) => {
    setTextarea(event.target.value)
  }

  return (
    <form>
      <textarea value={textarea} onChange={handleChange} />
    </form>
  )
}

const root = ReactDOM.createRoot(document.getElementById('root'));
root.render(<MyForm />);
Select:
A drop down list, or a select box, in React is also a bit different from HTML.
in HTML, the selected value in the drop down list was defined with the selected attribute:
<select>
  <option value="Ford">Ford</option>
  <option value="Volvo" selected>Volvo</option>
  <option value="Fiat">Fiat</option>
</select>
Ending >
I assume that you have tried out the code in your app.
I hope this post has been helpful. If you have any questions, please feel free to leave a comment below.
Happy Coding !
Thank You